

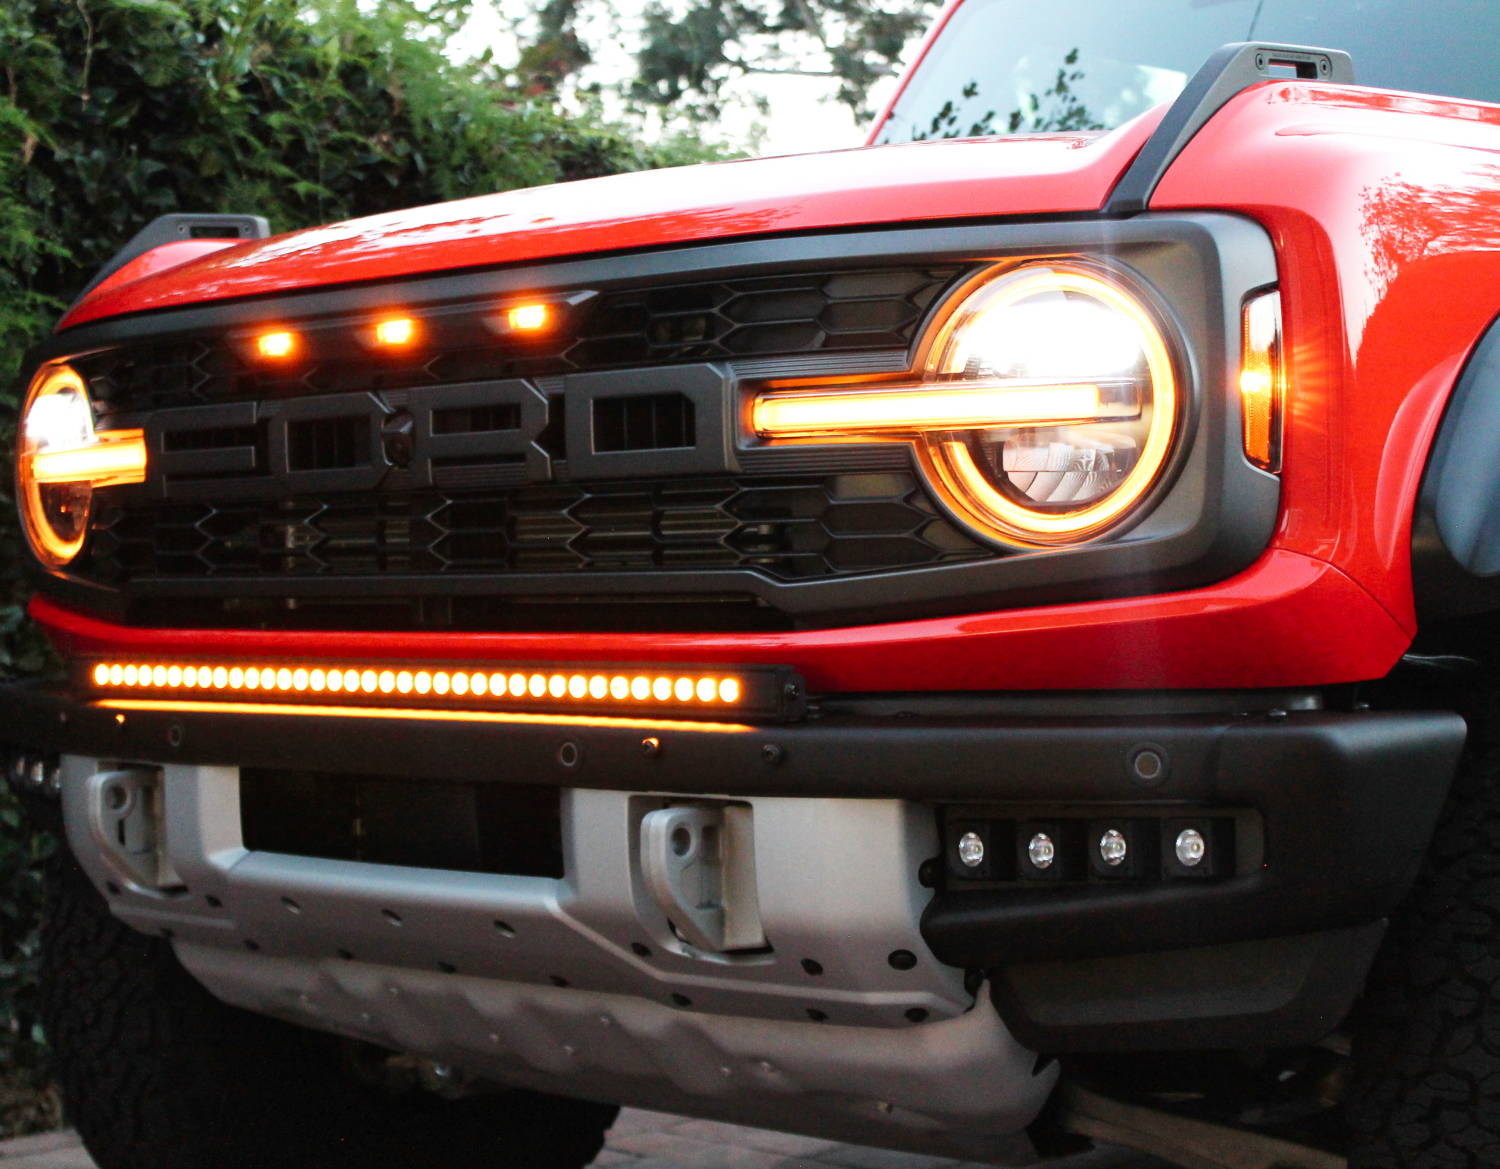
With the fog light kit done, the same Bronco Raptor was still in the shop — so we kept building. Next up: the bumper light bars. These are the upgrade that turns heads on the road while still looking clean and intentional, not tacked-on. Just enough to get noticed and appreciated.
30in or 40in? The one fitment rule that decides it
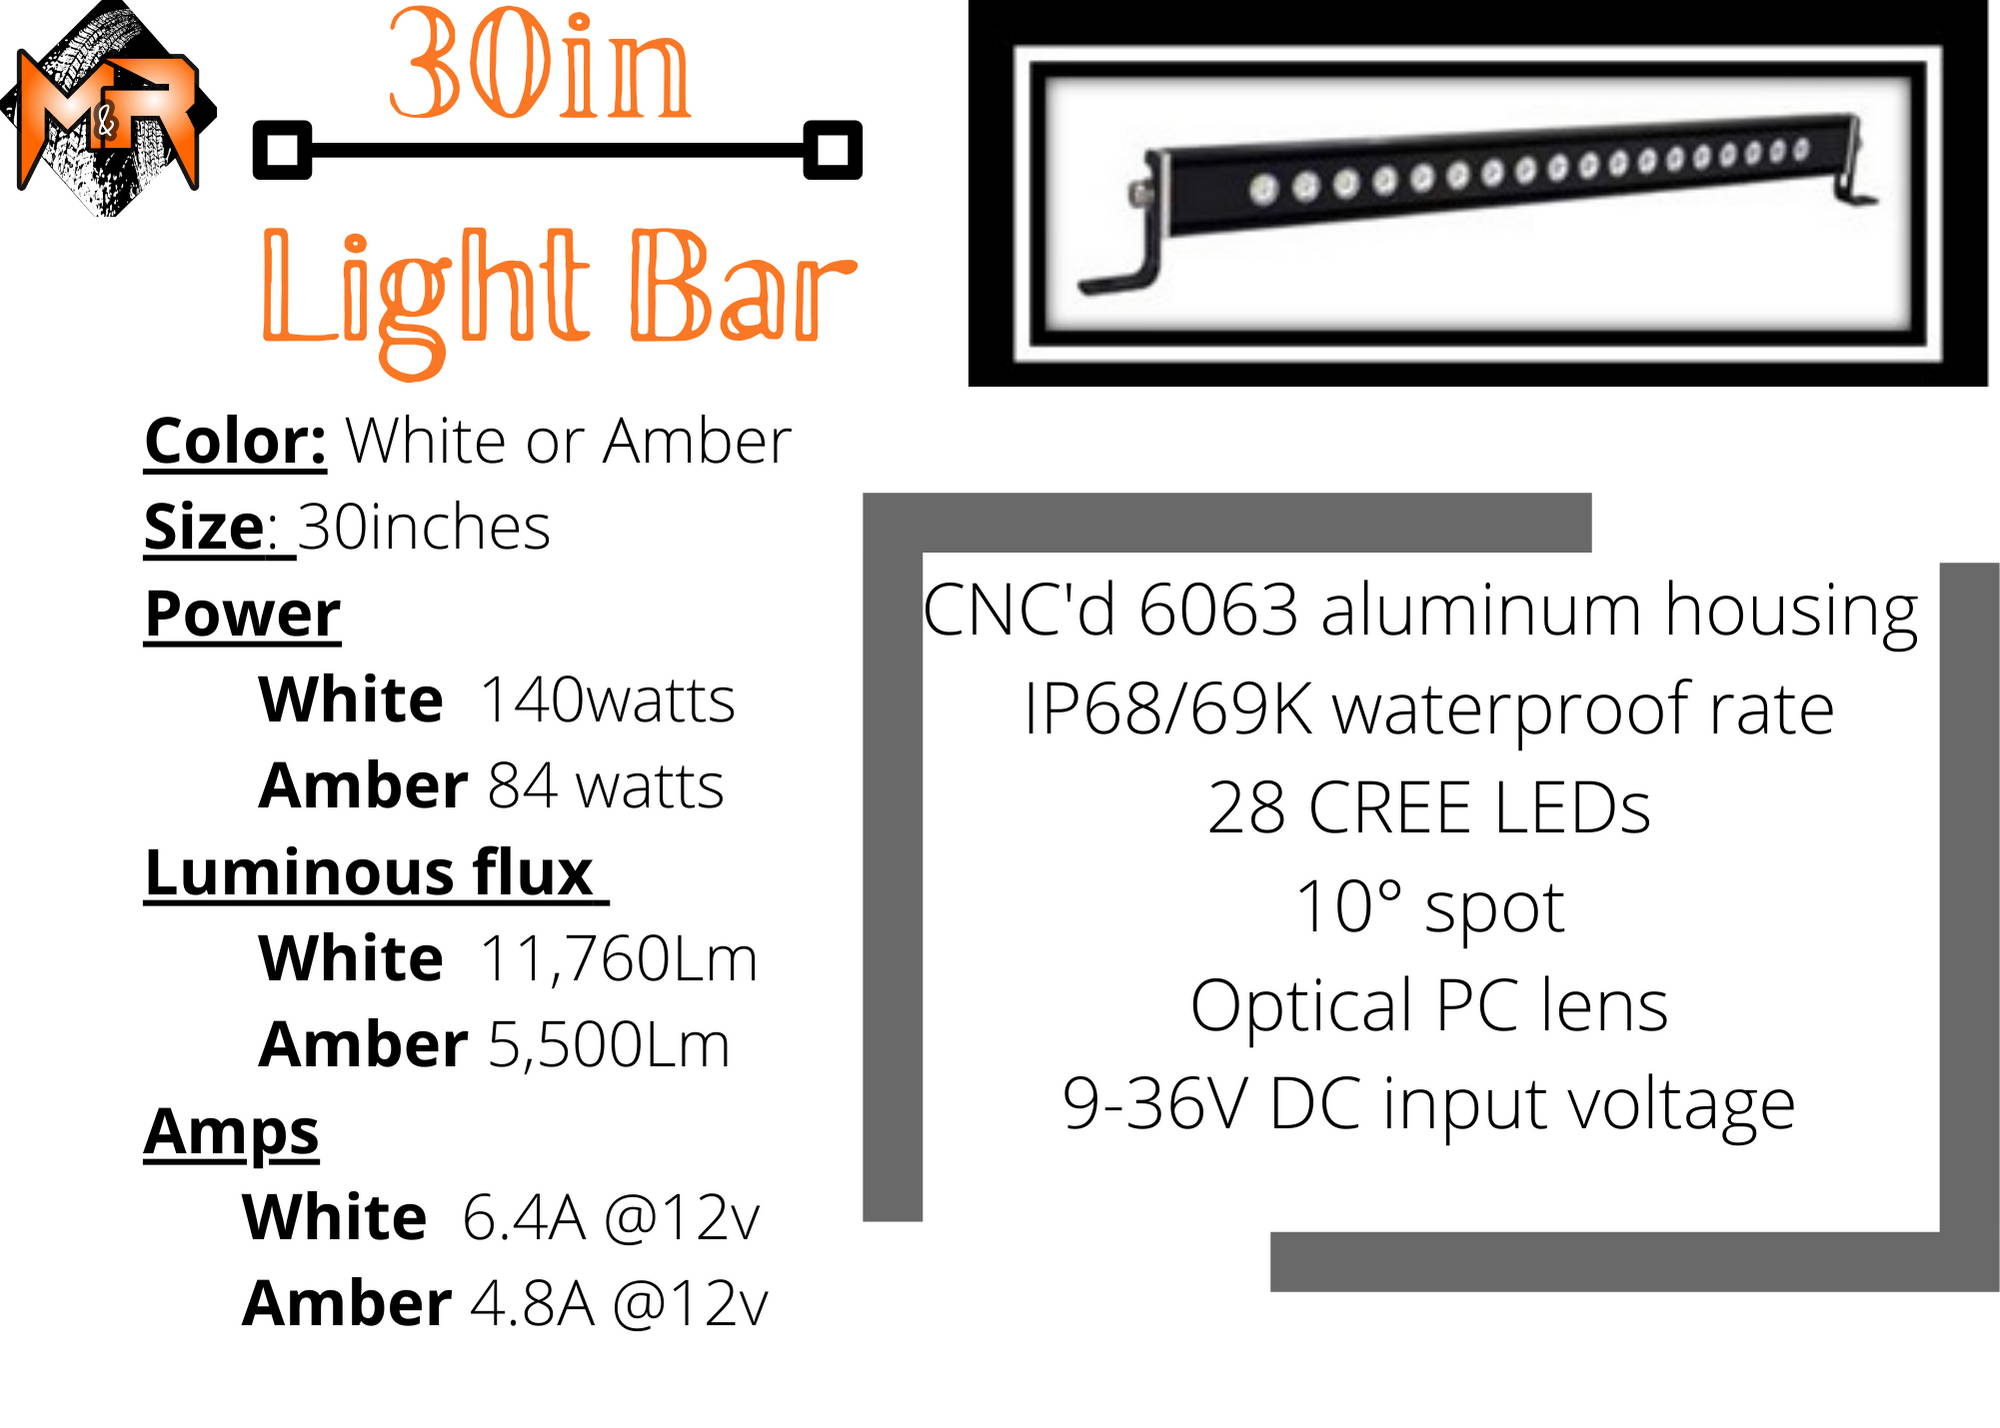
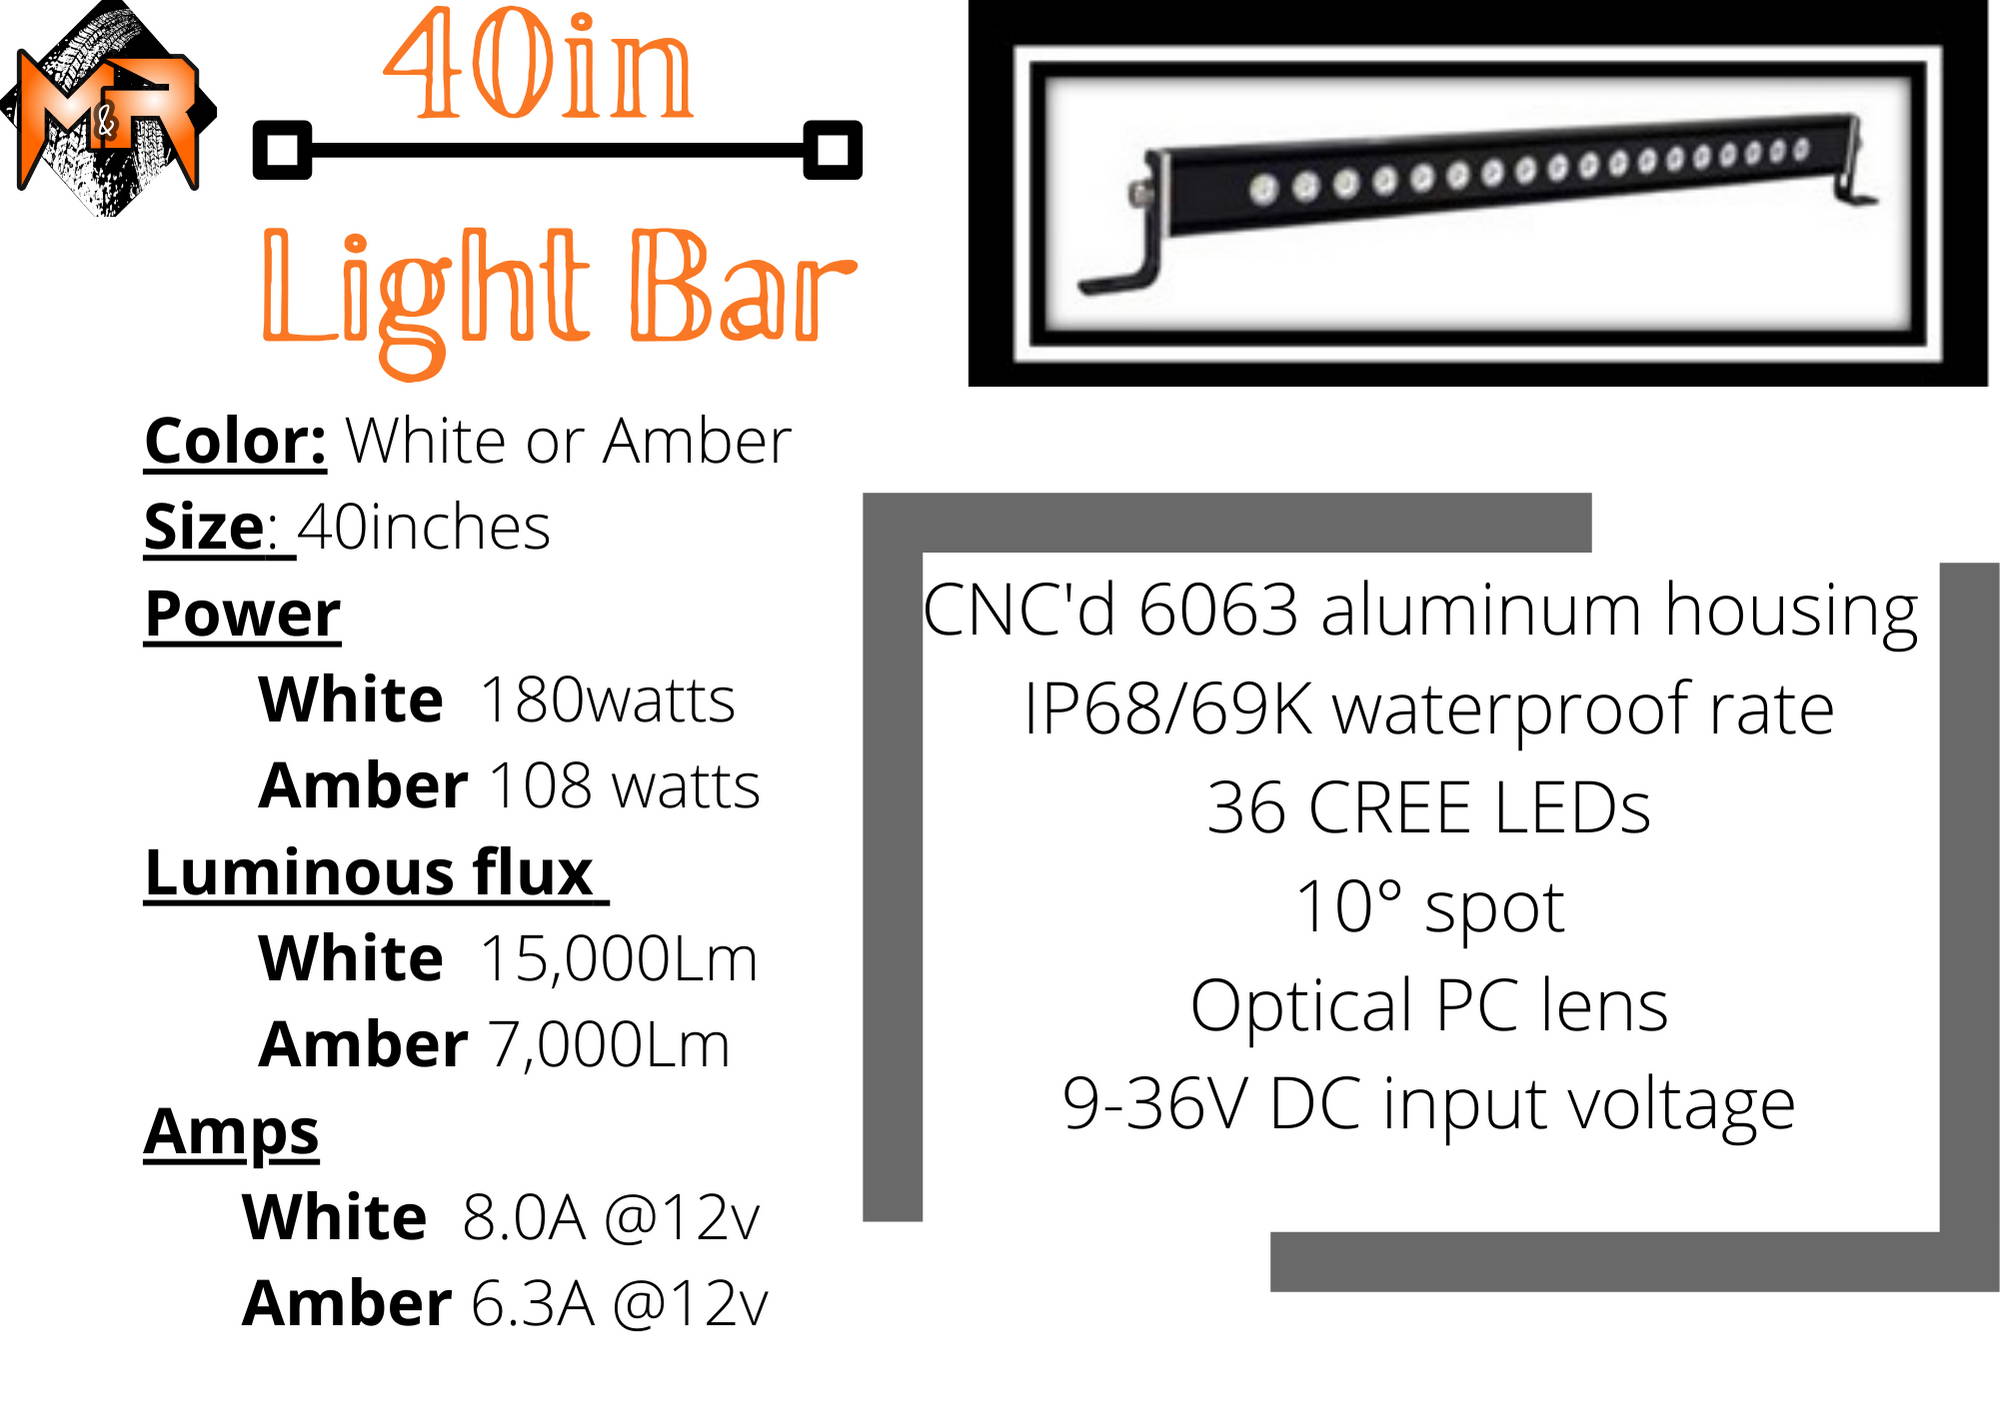
You've got two sizes for the bumper: a 30-inch bar and a 40-inch bar. The choice usually comes down to a single factory detail:
- If your Bronco Raptor has the factory bullbar (brush guard), go with the 30in. It's sized to sit cleanly within that setup without fighting the bar.
- No bullbar? The 40in gives you the widest, brightest wall of light across the front.
Both mount on top of the bumper for that low, integrated stance. Here's each one so you can see the footprint before you order:
Pick your color
Each bar comes in three options, so you can match the look and the conditions you run in:
- White — the brightest, longest-throwing beam for open trails and back roads (off-road use only)
- Amber — cuts through dust, fog, snow, and rain far better than white, with less glare-back (off-road use only)
- White main with Amber DRL backglow — the dual-function option, with a street-safe amber accent that matches the rest of an M&R build
Want more output? SLIM, PRO, and double-stacked
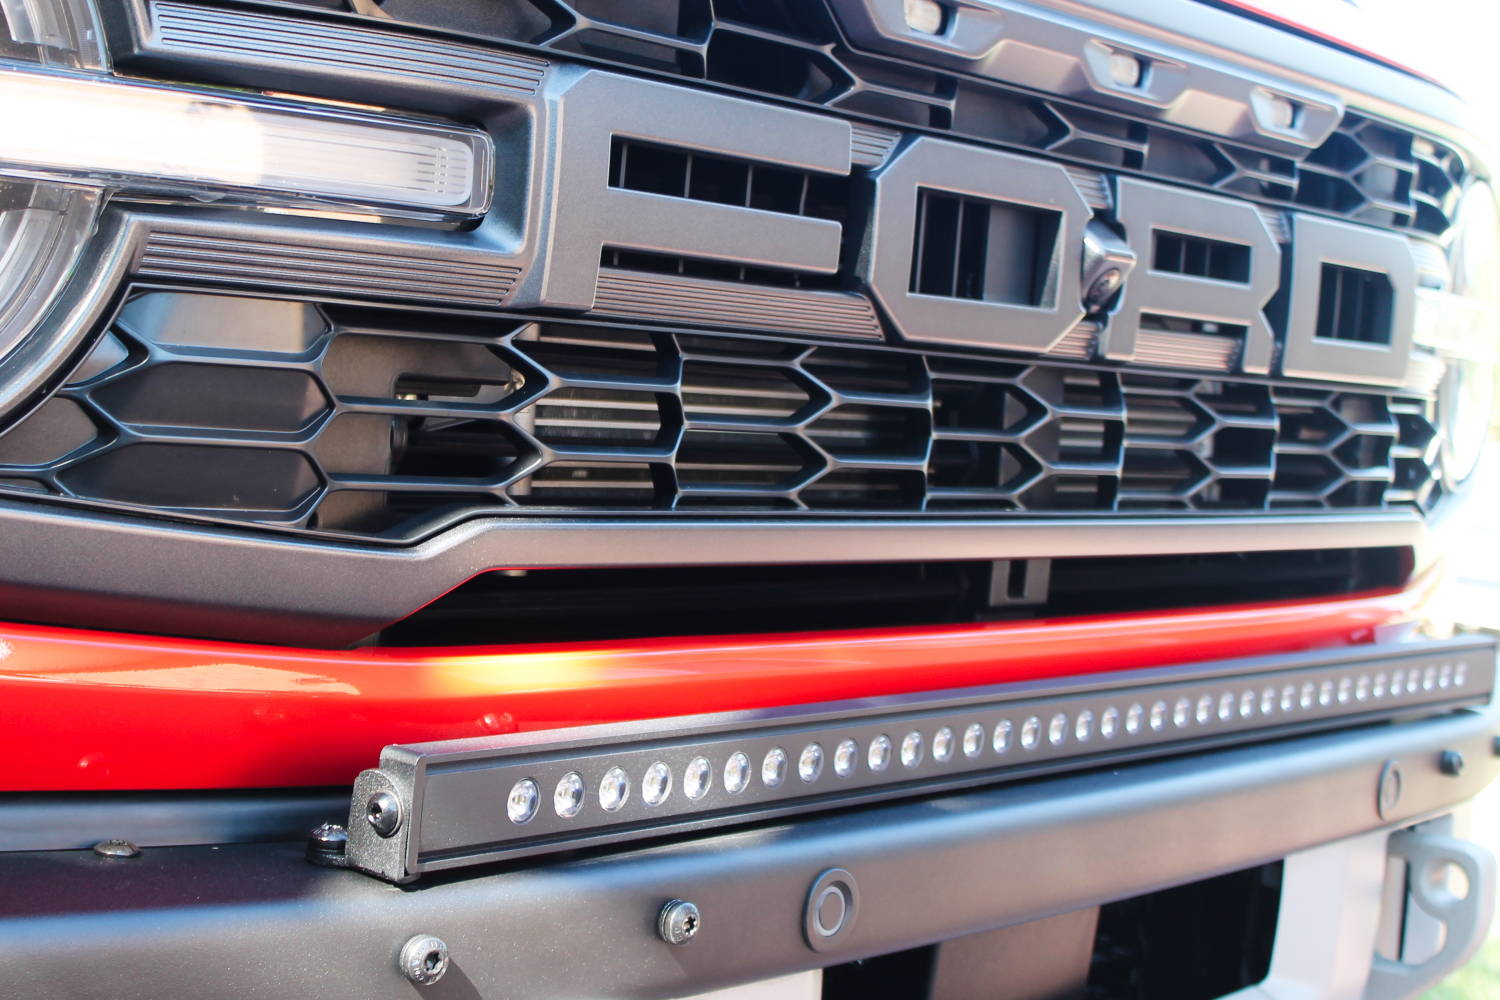
The bars in this install are the SLIM bumper bars — the clean, lower-profile pick. If you want to push it further, the same Raptor fitment is available in a few builds:
- 30in SLIM and 40in SLIM — the low-profile bumper bars shown here
- 30in PRO and 40in PRO — brighter, longer-throwing TIR optics with a 304-aluminum housing and thermal management
- Double-stacked bars — two bars for maximum coverage and the most aggressive look
Installing the bumper bars
This is one of the easier installs in the whole build. The bars use the same brackets we designed for the standard Bronco modular bumper, so it's a true bolt-on — no cutting, no drilling. Figure roughly 10 minutes per bar, plus your wiring time.
- Mount the bracket and bar on top of the bumper using the factory-style hardware.
- Level and snug it down so the bar sits square across the front.
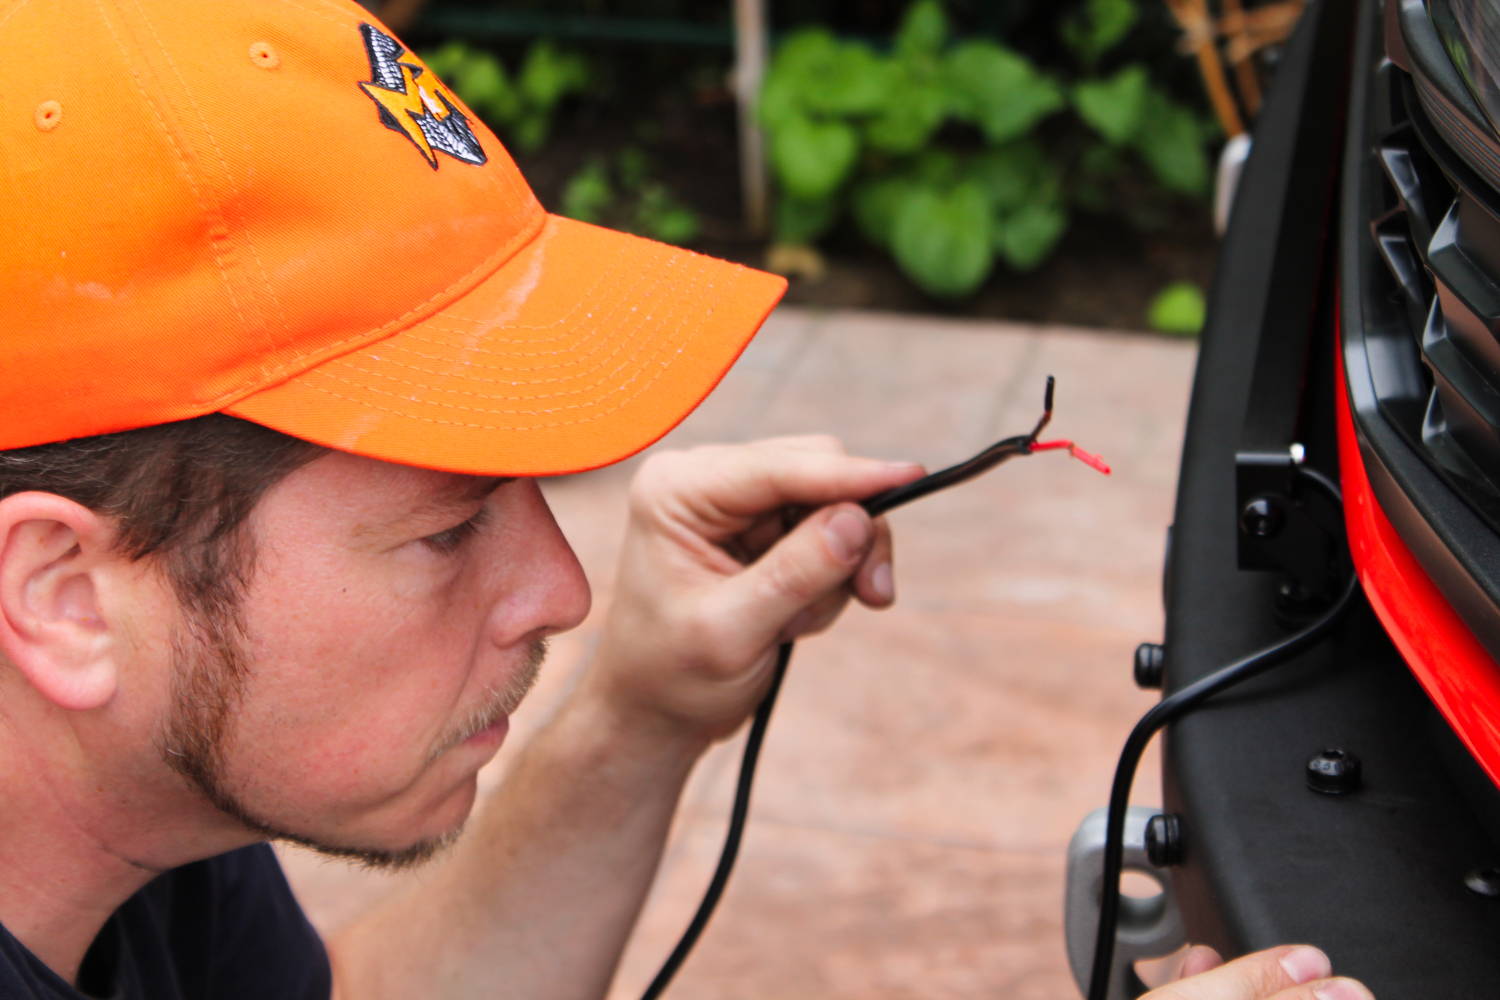
- Route the wiring. Each bar comes with about 6 feet of wire — enough to reach your AUX switches.
- Test before final tidy-up, then loom and secure the harness away from heat and sharp edges.
Wiring: how to group your switches
How you wire it is genuinely up to you. If you're running more than one M&R kit, a popular setup is to put all the white light on one AUX switch and all the amber DRL on another — so you can run the accent look on the street and flip the high-output white on only off-road. Or split the white across switches so you can dial in how much you want on at once.
No factory AUX switches? The Wireless 8-Switch Harness runs up to 8 accessories from one rechargeable, magnetic remote in the cab — no firewall pass-through, no splicing factory wiring.
Watch the install
Is it street-legal?
The amber DRL backglow is street-safe and can be run on the road. The high-output white and amber main beams are for off-road use only. Lighting laws vary by state and locality, so know the rules where you drive.
Finish the build
The bumper bars pair naturally with the rest of the Raptor lineup — a roof light bar, ditch lights, and the fog kit — for a complete front-to-top setup. Start wherever makes sense for how you run your truck, and add on from there.
FAQ: Ford Bronco Raptor Bumper Light Bars
Should I get the 30in or 40in bar?
If your Bronco Raptor has the factory bullbar, go with the 30in — it fits cleanly within that setup. Without a bullbar, the 40in gives you the widest, brightest spread.
Does the light bar require drilling?
No. It bolts on using the same bracket system as the standard Bronco modular bumper — no cutting or drilling. Plan on about 10 minutes per bar plus wiring.
What color options are there?
White, Amber, or White main beam with an amber DRL backglow. White is brightest; amber cuts through dust and weather; the amber DRL is the street-safe accent.
What's the difference between SLIM and PRO?
SLIM is the clean, lower-profile, lower-cost bumper bar shown in this install. PRO steps up to TIR optics, a 304-aluminum housing, and thermal management for a brighter, longer-throwing beam.
How do I wire the bars?
Each bar includes about 6 feet of wire to reach your AUX switches. A common setup groups all the white on one switch and all the amber DRL on another. No AUX switches? Use the M&R Wireless 8-Switch Harness.
Shop the Build
Ready to light up your Bronco Raptor? Bolt-on, no cutting or drilling:
- Ford Bronco Raptor LED Light Kits — 30in/40in bumper bars (SLIM & PRO), double-stacked, roof bar, ditch, and fog
- Wireless 8-Switch Harness — control it all from the cab
Leave a comment